Flowers have the power to make us feel loved and appreciated, to instantly brighten a room, and to bring out oohs and aahs. Wouldn’t we love to deck out the halls with fresh blooms every week if we could? That might be a bit harsh on the budget for most of us though.
But did you know that dried blooms and floral arrangements have seen a real resurgence in popularity since 2019, and are hailed as one of the biggest design trends of 2021? Preserving flowers and grasses is totally on trend - a great way to hold on to that Valentine’s bouquet or give your flat that Parisian ‘je ne sais quoi’ without breaking the bank. Dried flowers are back from the dead so to speak – pardon the pun.
Do you want to keep those beautiful birthday roses or zhuzh up a room with a fuss-free dried floral arrangement, but are not quite sure where to start?
Here are some simple ideas and easy steps to get creative.

Image Source: Unsplash
How to dry flowers
As a rule of thumb:
- Dry your blooms before they are completely open and fully matured, otherwise they might lose their petals during the drying process.
- Bouquets, long-lasting and robust flowers (such as lavender or roses for example) will be best air dried and hung upside down.
- To preserve structure and a more vibrant colour – think daisies, chrysanthemums, tulips, and roses – use the microwave or silica gel method.
- For more delicate flowers we recommend using alternative techniques such as framing or pressing.
The traditional ‘hang them upside down’ air dry-method
Most of us will use this method to hold on to that bunch of roses we received from that special someone. This method is also a great way for proud gardeners to preserve some of their homegrown blooms.
The trick here is to make sure the flowers are not completely open and mature just yet, as they will continue to open during the drying process.
Cut stems with a pair of sharp garden scissors and also get rid of unnecessary foliage. Use string to hang them up upside down, either in a bundle or individually. For best results hang them up in a dark and dry place where air can circulate.
Depending on the flowers you’ve chosen, this drying process can take anything from a few days to several weeks. The flowers are dried once they feel stiff to the touch and dry. You can then lightly spray everything with an unscented hairspray to make them last longer.

Image Source: Unsplash
Speed things up in the microwave
Short on time? This is for you: For this method, you’ll need silica sand (available from craft stores) alternatively a mixture made up of half borax (sodium borate) and half cornmeal. To help keep their shape, carefully fill cup- or trumpet-shaped flower heads with your mixture.
Again, it’s best to pick blooms just before they fully open. Place flower tops in an open container in your microwave and depending on the thickness of the petals, they will need a minute or two on ‘high’. Just check whether the flowers have dried well after a minute. To finish the drying process, leave them in the mixture for another day after microwaving.
To speed up the drying process in the long run, you can also cover one flower at a time with cat’s litter and microwave it individually on high for a couple of minutes in a container. Wait until the cat’s litter has cooled and voila, your dried flower will be good to go.
Silica gel for colour and shape
‘What is silica gel?’ you might ask. I’m pretty sure you’ve seen it before, in little sachets, to keep things such as your new pair of shoes or your vitamins dry. It basically consists of moisture absorbing crystals and you will find products specially designed for drying flowers.
The cool thing about this method is that it works really well for seasonal bouquets. It preserves the natural colour and shape of flowers beautifully. Most people choose to preserve only the buds with this method and get rid of the stems altogether.
You’ll need your fresh-cut flowers, silica gel beads (not silica sand), an airtight plastic container, and good garden scissors. To preserve your flowers (zinnias, roses, chrysanthemum, or daisies all work really well) make sure they’re patted dry. Add a layer of silica gel at the bottom of your container, add your blooms face up and carefully cover all petals with more silica gel. Keep the airtight container in a dark dry space. They should be ready to be admired after 2 – 4 days. All you have to do now is to carefully remove the buds and brush off excess gel.
Get the Potpourri started in the oven
So, this is the slow cooker- to your microwave-method. It’s a very simple method but just needs a bit of time and attention. Oven drying works best for just the flower tops or to dry petals. Cut off the stems completely and put your blooms on an oven rack. Preheat your oven to about 80C and bake for between 1.5 and 2 hours. Again, this depends a bit on the thickness of your buds. Check your flowers every half hour or so and remove them once they are dry. Be careful, they can dry very quickly. Zinnias, daisies, even sunflowers will do really well oven dried.
Keep them beautiful – maintaining your dried flowers
There are a few simple steps to make the most of your dried flowers and keep them looking good for a long time:
- To reduce fading, keep your dried flowers and grasses out of direct sunlight.
- Dried flowers will always be a bit delicate so best to keep them away from too much air flow, in particular from heat vents.
- A feather duster works best if you need to dust them.
- If you need to store them away, keep your dried blooms in a box, in a dry and cool place.
- To keep your blooms in shape and strong, consider spraying them with an acrylic seal after drying.

Pressing flowers for keepsakes and mementos
When I was a kid, our family always went for hikes in the mountains and often, I came back with some delicate, but vividly coloured wildflowers I’d found along the way. Invariably, they ended up between the pages of a fat book to get pressed. Even now, I find the odd dried flower falling out of an old, long forgotten volume. Pressing flowers is a great and inexpensive way to create small floral mementos and turn them into unique wall art.
Here’s a quick ‘how to’
Choose freshly picked flowers, cut off excess leaves and hydrate them in water with added flower food and sugar in a cool ventilated place for a couple of hours. Flat flowers and definitely leaves will be best suited to press. If you find the flowerhead is quite thick, half it carefully with your scissors or a sharp knife. Here’s a tip: if you don’t use them straight away, store them a Ziplock bag in the fridge.
Once you are ready to press lay your plants on very absorbent paper such as non-treated facial tissues or even flat cardboard or coffee filters. The flowers need to dry as quickly as possible to prevent them going brown. It’s really important that you space them out so that the moisture from one plant doesn’t affect another.
From here on, you’ve got a couple of options:
The cheapest: Put the flowers between the absorbent paper in between book pages and then stack the books. Change your absorbent paper every few days carefully so as not to disturb the delicate blooms and wait two to 3 weeks. It doesn’t cost you anything but will work perfectly well.
The fastest: If you don’t want to wait a couple of weeks until your floral art is ready, you can also dry your flowers with an iron. Heat the iron on ‘low’ and make sure it’s not set on ‘steam’. Whilst the iron is heating up, quickly flatten your flowers (always between absorbent paper) with a heavy book, then press the iron in place for about 10 to 15 seconds. Let the paper cool down and repeat the ironing. Then carefully lift off the paper as the flowers should be dry and very delicate.
For the hobbyist: If pressing flowers and grasses becomes more of a pastime, it’s well worth investing in a flower press or else making your own one from plywood, with wing nuts and bolts attached to each corner of your plywood sheets. The bonus here is that you are not confined to your average book size and will be able to press some larger flowers and ferns for example.
The second option here is getting a microwave press, although it’s again very easy to make your own. For that you’ll need a couple of ceramic tiles, lined with paper and held together with rubber bands. You could even microwave a book, as long as there are no metal parts like staples in it. Regardless of what you end up using, sandwich your flowers between the microwave press, use a low setting and heat for between 30 and 60 second at one time. Make sure you allow to cool and repeat the cycle until the flowers are dry and finish off the process with two more days in a flower- or book press.
What to do with your dried flowers and grasses
Dried blooms and foliage not only offer a visual feast but can add fragrance and enhance our sense of a space. So, think beyond a few dried hydrangeas in a vase. Think beautifully scented bath salts, a potpourri that will stimulate or soothe your senses, exquisitely crafted flower clay beads, wraths, or a stunning centrepiece of dried grasses that doesn’t cost the earth and will look stunning for a long time. Blooms preserved in resin is another way to keep your wedding memories. Or how about framing some of your favourite flora you collected on your last holidays and create a themed wall?
Let’s explore some of these ideas.
Potpourri
Such an easy and inexpensive way to add fragrance to a room or make a mix for someone as a small, personal gift. All you need is your dried petals (oven or microwave dried works well here), a few drops of your favourite essential oil, a mason jar and a lovely bowl. To spice things up, why not add lavender, herbs, a cinnamon quill or some star anise to the mix! Put all your ingredients in an airtight mason jar so that your petals get infused with all the wonderful fragrances and transfer the mix into a decorative bowl or glass after about two weeks. Super easy!
 Image Source: Unsplash
Bath Salts
Why not have a relaxing bath in your own sea of roses, or the luxurious scent of jasmine fill the air? Making your own bath salts is easy. They always look pretty, you can add a sparkle and mix together your favourite scents. Here’s a simple and easy recipe: Mix together 2 cups of a salt blend (Epsom salt and sea salts). We really like coarse Himalayan salt for its beautiful pink hues. Add 2 teaspoons of carrier oil such as coconut or almond oil and 5 - 10 drops of your favourite essential oils, ylang ylang or roses perhaps. Now comes the fun part: add your flower petals and buds as you like. You might even want to add some citrus rinds, herbs or mint leaves. Mix everything well and put in an airtight container until you have time for that luxurious bath.
Polymer Clay Beads
Here’s another idea to get creative with petals. Beads are perhaps the most interesting way to keep some of your special flowers, such as your wedding bouquet, or Valentine’s posy! All you need is your dried flower petals, polymer clay from the craft store, a bit of wire and an oven. There is no right or wrong here when it comes to what kind of dried flowers to use or the ratio. The idea is to crush the petals and have specks of these flowers - rather than clumps - showing in your beads. So here’s a quick ‘how to’: Knead the polymer clay until it is soft and pliable, sprinkle a handful of your crushed petals on the clay and work it in. Break off small amounts of the petal/clay mixture and start forming each into a bead. Pierce the bead with the wire and leave it on. The wire should be strong enough for the beads to stay suspended when you prop it over an ovenproof dish for baking. Leave a space on the wire between each bead. Bake the beads according to the instructions on the polymer clay package. Temperatures may vary depending on the brand.
The best flowers to dry
When it comes to drying and preserving, not all flora is created equal. Whilst you have a larger colour palette to play with (think muted tones of grasses, grains and twigs, or dyed pampas grass), it’s wise to choose your ‘ingredients’ carefully.
The South African protea, roses, and all hydrangeas remain as popular as ever, but it’s really worthwhile to give Australia’s homegrowns a go. A Banksia, the Silver Dollar eucalyptus or the Australian daisy are known to keep a fresh look when dried. The Australian Mulla Mulla, or a Paper Daisy will also hold its colour beautifully, whilst Babies Breathe will give your floral arrangement a lovely daintiness. And why not add a bit of fragrance with lavender or even sprigs of dried herbs!
If it’s the petals you are interested in, to use in a potpourri or in bath salts for example, cornflowers, sunflowers, marigolds and of course roses, are all time favourites. Chamomile and lavender will add a lovely, relaxing note to bath salts.
The best flowers and grasses to use for pressing are generally the flatter, single-layered, thin-leaved ones such as delphinium, pansies or cosmos. Ferns will always make for intriguing shapes, And of course you can also experiment with petals only!
Your FAQs
Are dried florals old-fashioned? They sound like a throwback to the 1970s. Not at all, dried blooms, foliage and grasses are bang on trend this year. If DIY is not your thing, you can now find a huge range online or in speciality stores. A really inexpensive and easy way to give your space a new look.
What flowers are best to dry? A huge range of flowers dry really well, including some of our Australian natives. Whichever one you choose, make sure you use flowers that are not in full bloom just yet and then prep them well according to various methods described.
I don’t have a lot of time. Which method is best for a quick fix? The traditional method of air drying is probably the least time consuming way to dry your flowers, just let time do its work. Pressing flowers is also a quick and effective way to preserve blooms but is more suited for relatively small, flatter flowerheads and definitely for grasses.
Is Silica Gel toxic? No it’s not toxic but I’d recommend wearing gloves and a mask when you use it as it can create a bit of a dust cloud.
How can I keep my dry floral arrangement looking good? Dried flowers and grasses will look good for many months as long as they’ve been dried well, are kept out of the sunlight and a massive draft. You can spray them lightly with a non-scented hairspray to give them extra strengths and dust them carefully with a feather duster every now and then.
A final word
With dried flowers and grasses being completely on-trend with interior designers and event managers you now have a wealth of options at your fingertips. If the DIY approach is not for you, do not fear.
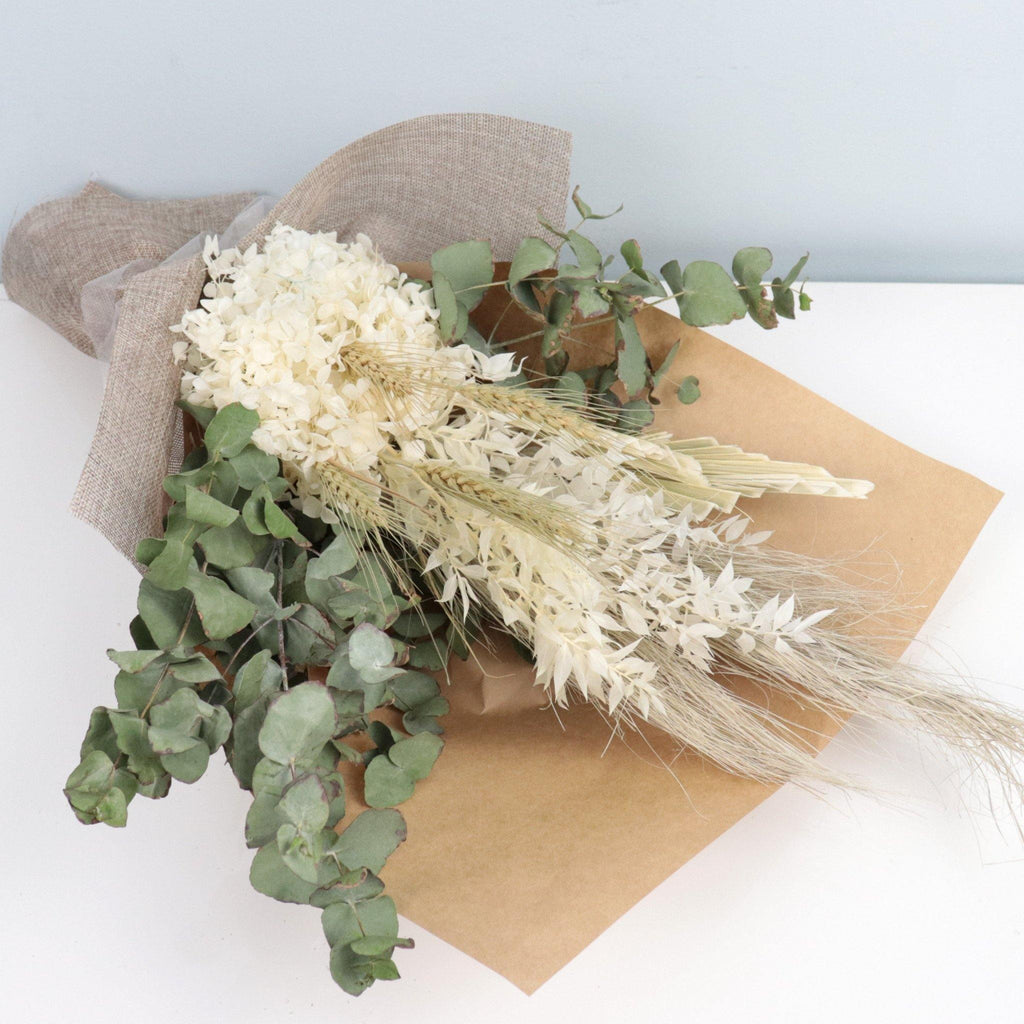
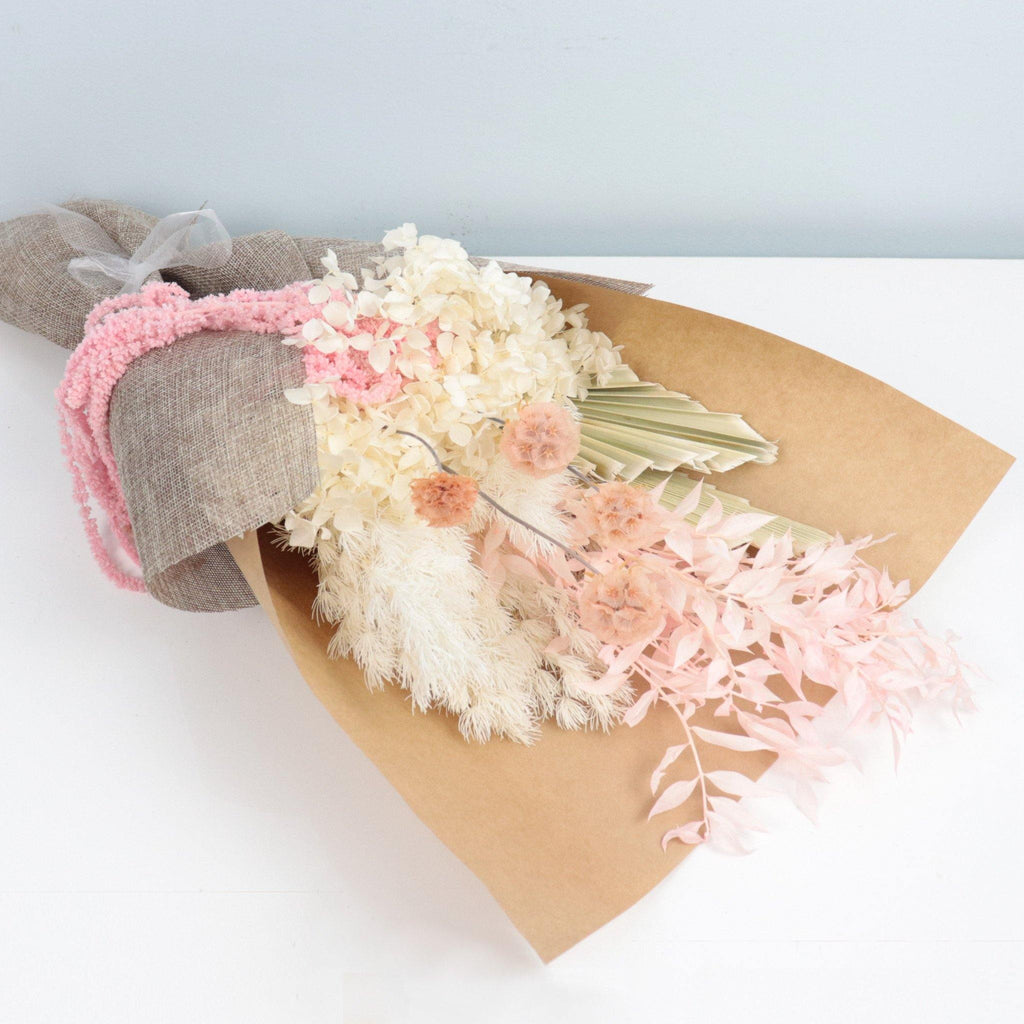
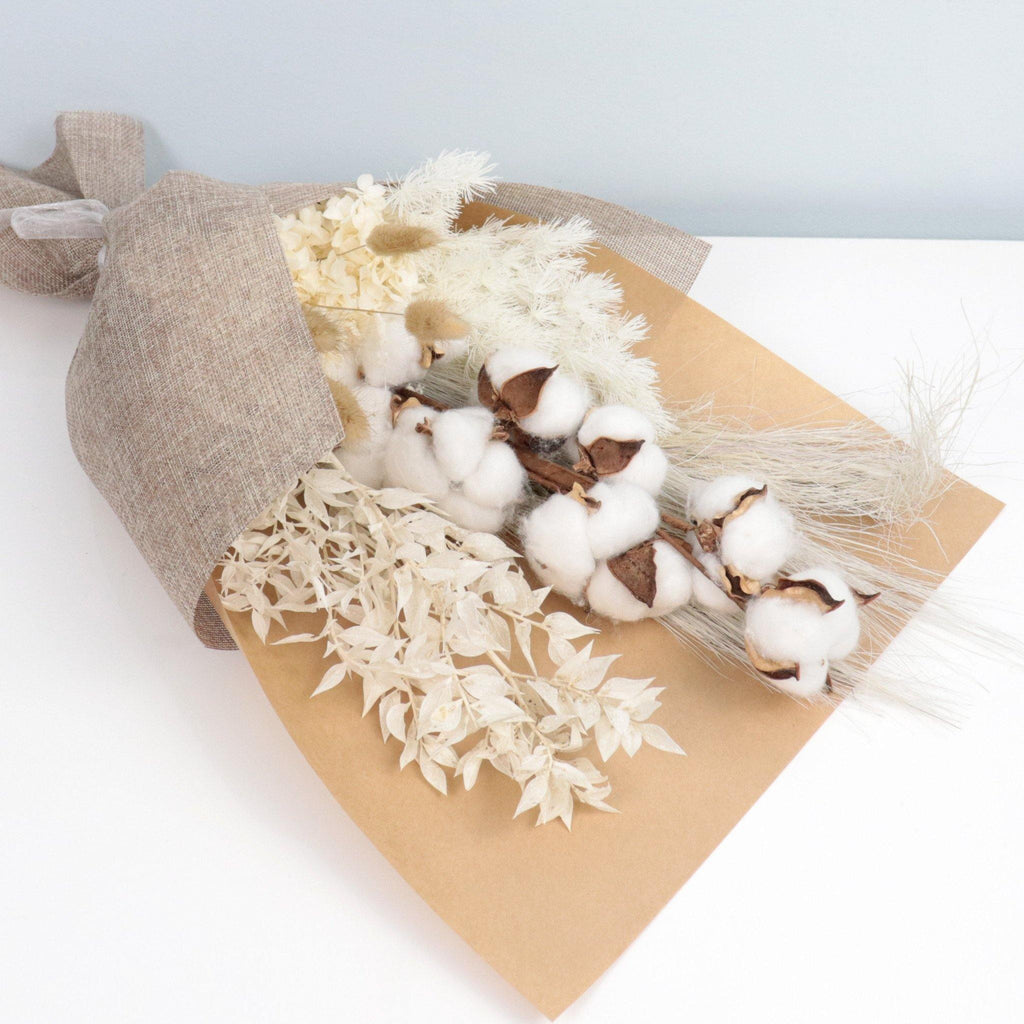
We’ve now launched an entire range of dried bouquets and DIY kits that can be sent anywhere in Australia via Express Post.
So, what are you waiting for? Get creating and show us your latest floral adventure. We’d love to hear from you.


